Launching an EKS cluster

Elastic Kubernetes Service (EKS) is a fully managed Kubernetes service from AWS. In this blog, we will work with the AWS command line interface and console, using command line utilities like eksctl and kubectl to launch an EKS cluster, provision a Kubernetes deployment and pod running instances of nginx, and create a LoadBalancer service to expose your application over the internet.
Prerequisites Create an IAM User with Admin Permissions
To launch EKS cluster successfully the following must be done to deploy our EKS cluster
Create an EC2 instance, connect and configure the command line tools
Download kubectl
Provision an EKS cluster
Create a deployment on your EKS cluster
Test the high Availability features of your EKS cluster
A. Create an EC2 instance, connect and configure the command line tools.
Please check How to set up Two EC2 on EFS for step by step guide on how to create EC2 instance. Ensure you enable auto-assign public IP under network settings and also create a new key pair to login or use EC2 instance connect.
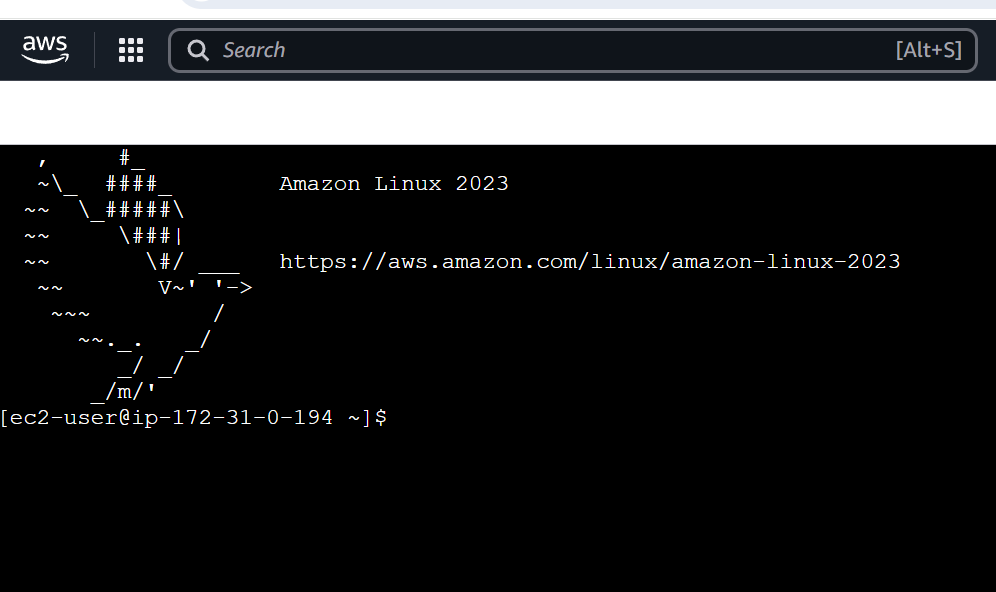
(i) CONNECTING TO AN EC2 INSTANCE
To connect to your instance, there are many ways to do this but in this case, you can do through SSH using key pair generated to connect or through EC2 instance connect. I have chosen to connect through EC2 instance connect.
(ii) Configuring command line tools
To configure command line tools, use the following command to check the version and update the version: aws --version

(a) This looks like older version, so download version two. Please use the following command curl "https://awscli.amazonaws.com/awscli-exe-linux-x86_64.zip" -o "awscliv2.zip"

(b) Unzip the file above with command unzip awscliv2.zip
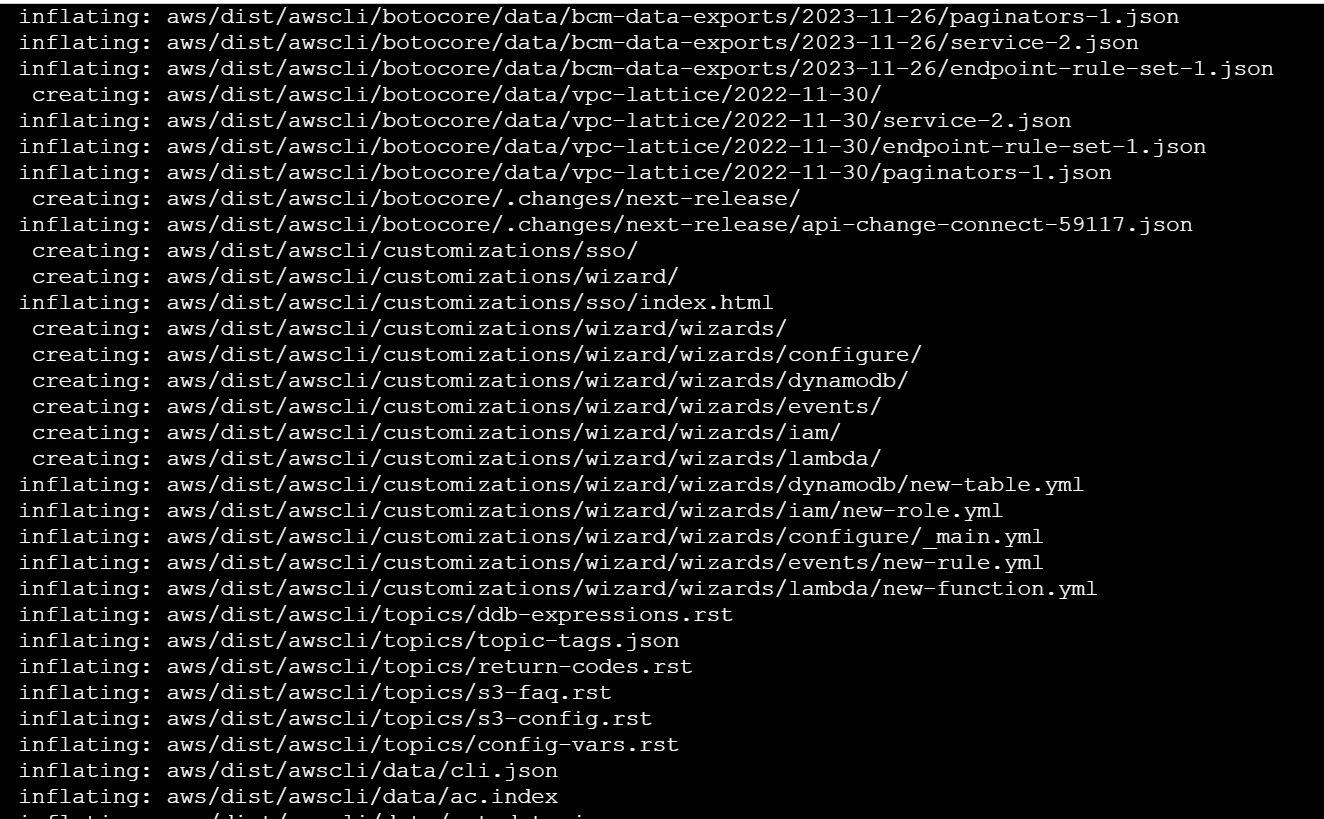
© To check where the current AWS CLI is installed: Please use this which aws

(d) To update the package, use this ; sudo ./aws/install --bin-dir /usr/bin --install-dir /usr/bin/aws-cli --update

(e) Now check if updated, use this: aws —version

(f) AWS configure. This is done by using the Access key created earlier with this command: aws configure

B. Download kubectl
To download kubectl, use this command: curl -o kubectl https://amazon-eks.s3.us-west-2.amazonaws.com/1.16.8/2020-04-16/bin/linux/amd64/kubectl

(i) Apply execute permission to the binary: chmod +x ./kubectl
(ii) Copy the binary to a directory in your path: mkdir -p $HOME/bin && cp ./kubectl $HOME/bin/kubectl && export PATH=$PATH:$HOME/bin

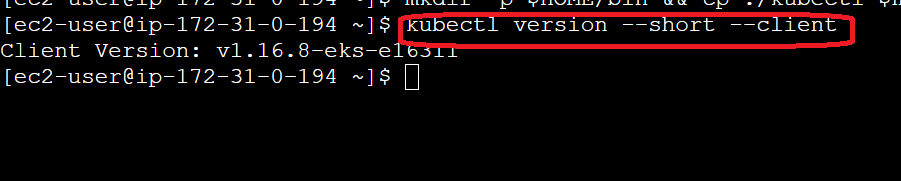
(ii) check installation : kubectl version --short --client
(iv) Download eksctl : curl --silent --location "https://github.com/weaveworks/eksctl/releases/latest/download/eksctl_$(uname -s)_amd64.tar.gz" | tar xz -C /tmp

(v) Move the extracted binary to /usr/bin: sudo mv /tmp/eksctl /usr/bin

(vi) Check eksctl version: eksctl version

C. Provision an EKS cluster
Provision an EKS cluster with three worker nodes in ap-southeast-2: eksctl create cluster --name dev --region us-east-1 --nodegroup-name standard-workers --node-type t3.medium --nodes 3 --nodes-min 1 --nodes-max 4 --managed
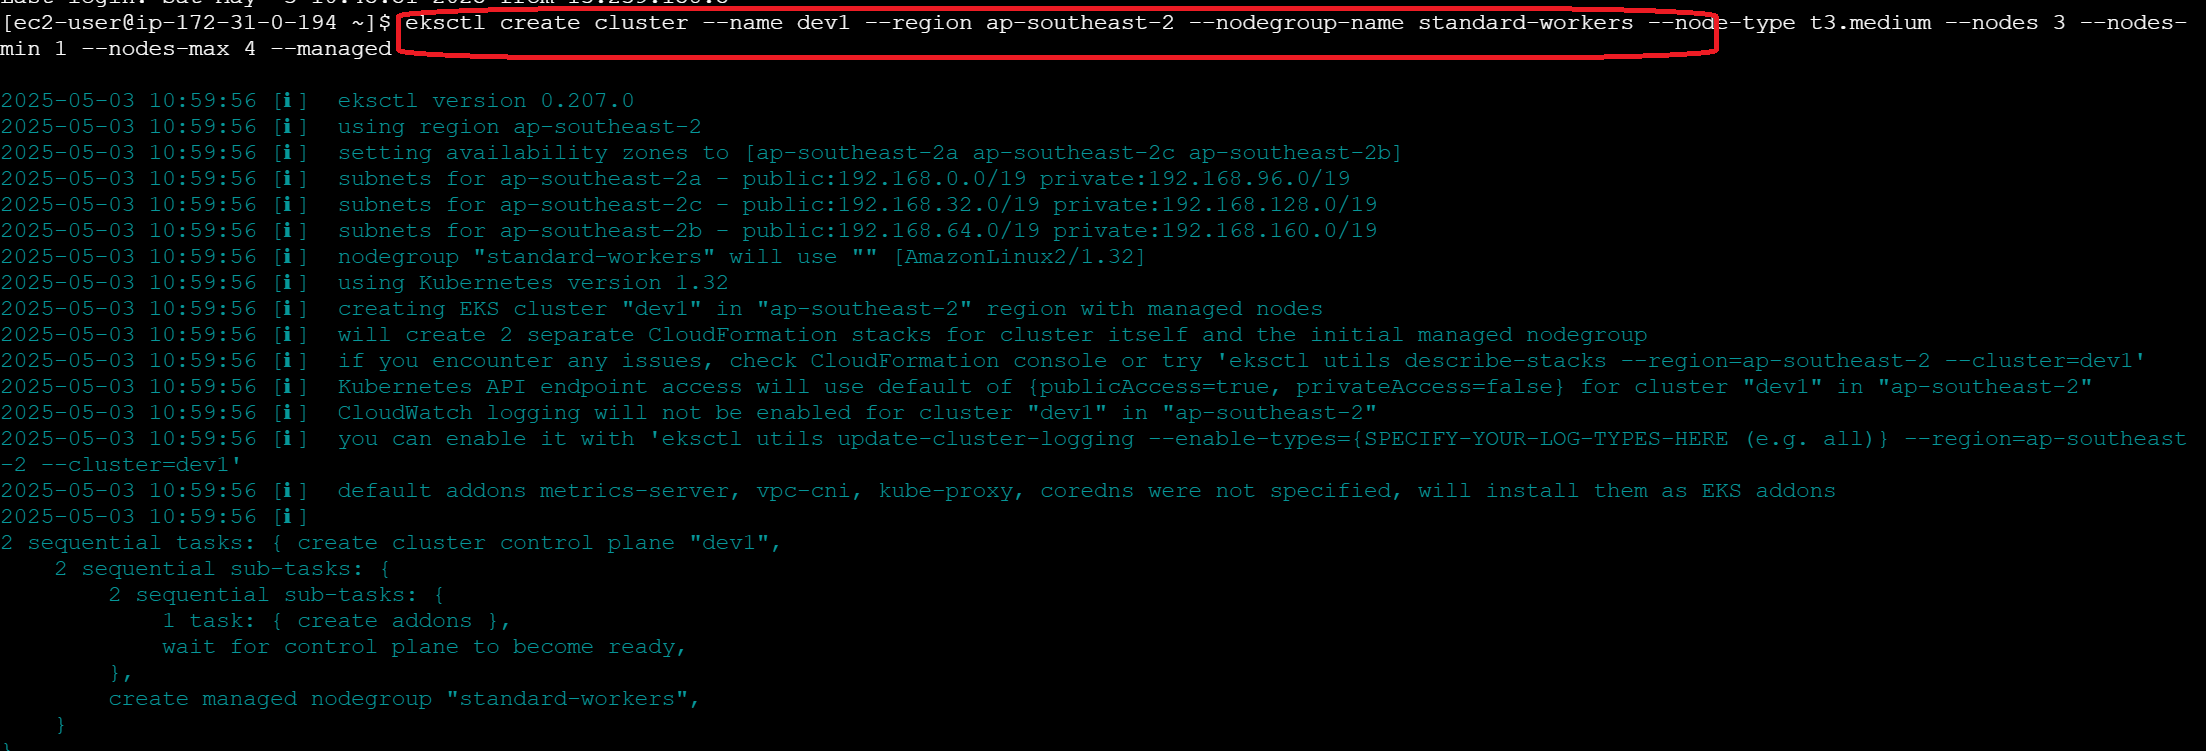
(i) Check the cluster: eksctl get cluster

(ii) Enable to connect to our cluster: aws eks update-kubeconfig --name dev1 --region ap-southeast-2

D. Create a deployment on your cluster
To create deployment on cluster, the followings need to be done;
(i) Install git: sudo yum install -y git

(ii) Download the course files: git clone https://github.com/ACloudGuru-Resources/Course_EKS-Basics

(iii) Change directory : cd Course_EKS-Basics

(iv) Take a look at deployment file: cat nginx-deployment.yaml

(v) Take a look at the service file: cat nginx-svc.yaml
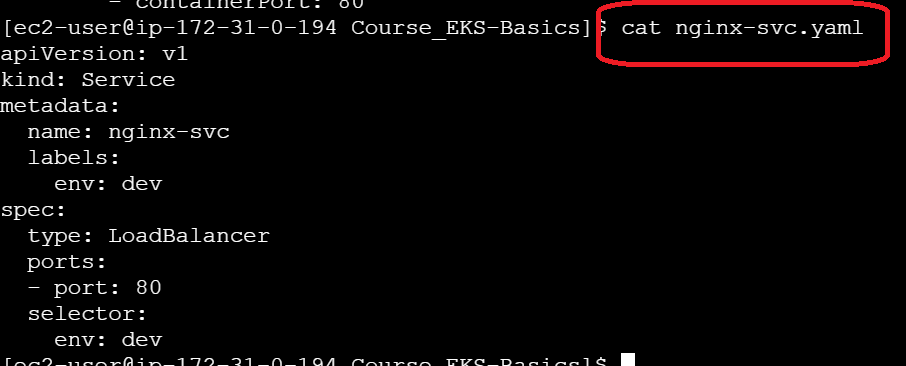
(vi) Create the service: kubectl apply -f ./nginx-svc.yaml

(vii) Check service status: kubectl get service

(viii) Create deployment and Copy the external DNS hostname of the load balancer, and paste it into a text file, as we'll need it in a minute: kubectl apply -f ./nginx-deployment.yaml

(ix) Check the status of deployment: kubectl get deployment

(x) View pods: kubectl get pod

(xi) View the replica sets: kubectl get rs

(xii) View the node: kubectl get node

(xiii) Access the application using load balancer with the IP copied earlier:
curl ae9fcdcf851844f6898bd651cfb088e5-662150467.ap-southeast-2.elb.amazonaws.com
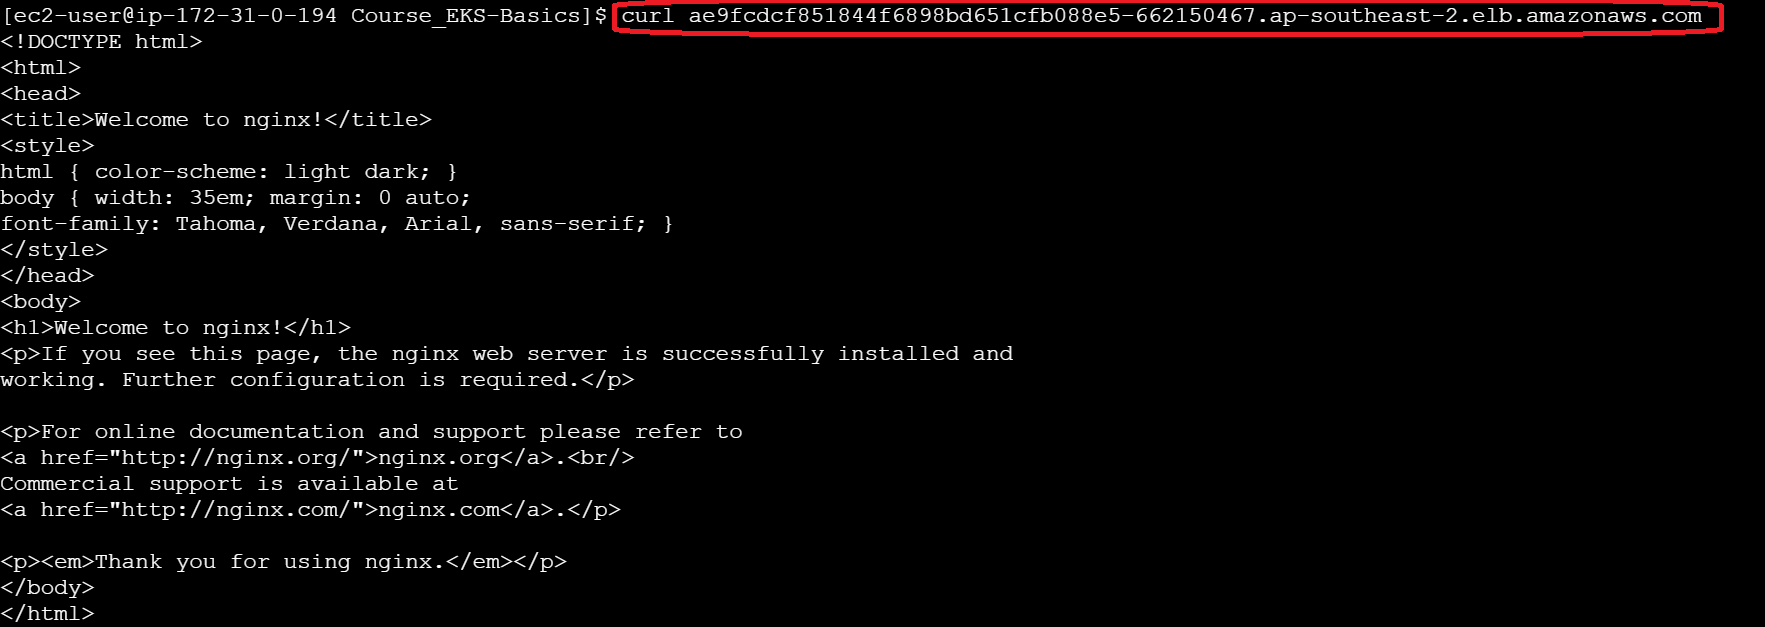
(xiv) The output should be the HTML for a default Nginx web page.
- In a new browser tab, navigate to the same IP, where we should then see the same Nginx web page.
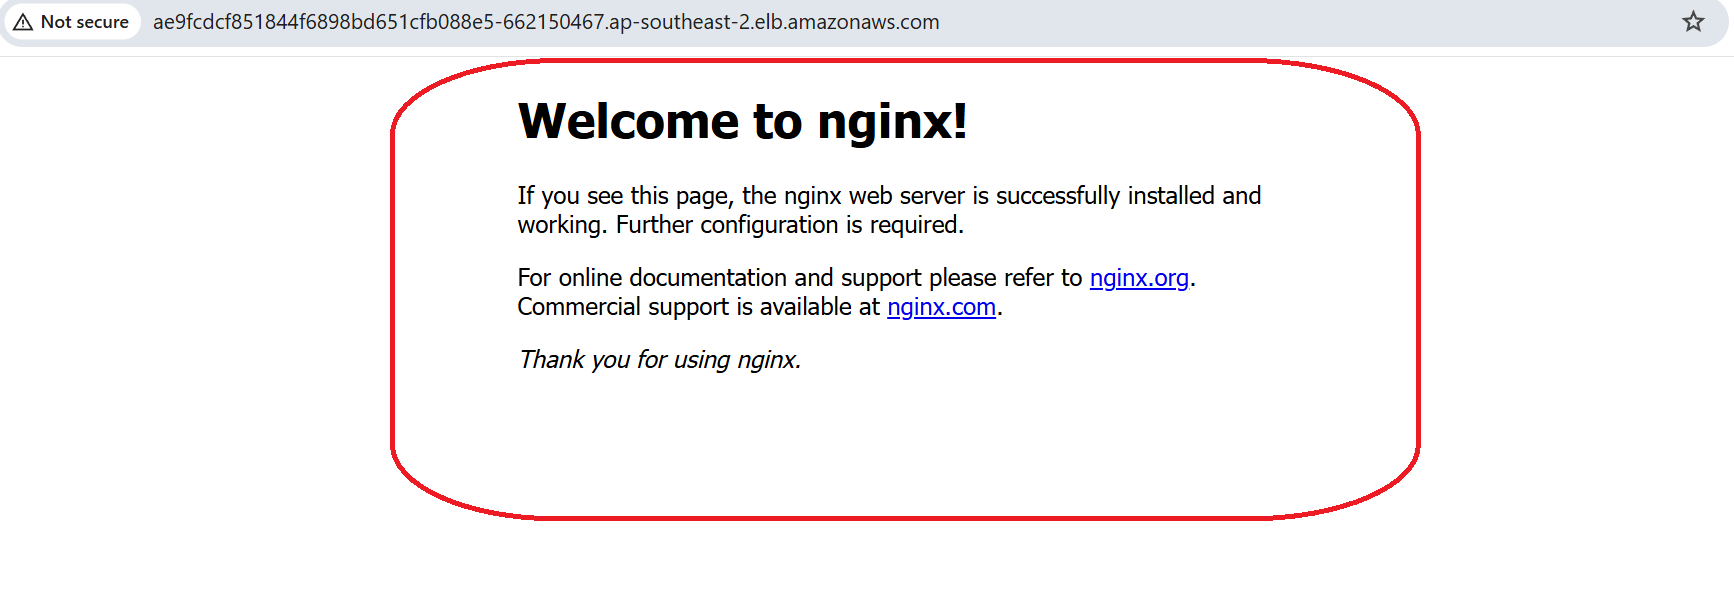
E. Test the High Availability Features of Your EKS Cluster
(i) To test the high availability, navigate to AWS console, and perform the following:
In the AWS console, on the EC2 instances page, select the worker node instances.
Click Instance state.
Select Stop instance.
In the dialog box, click Stop.
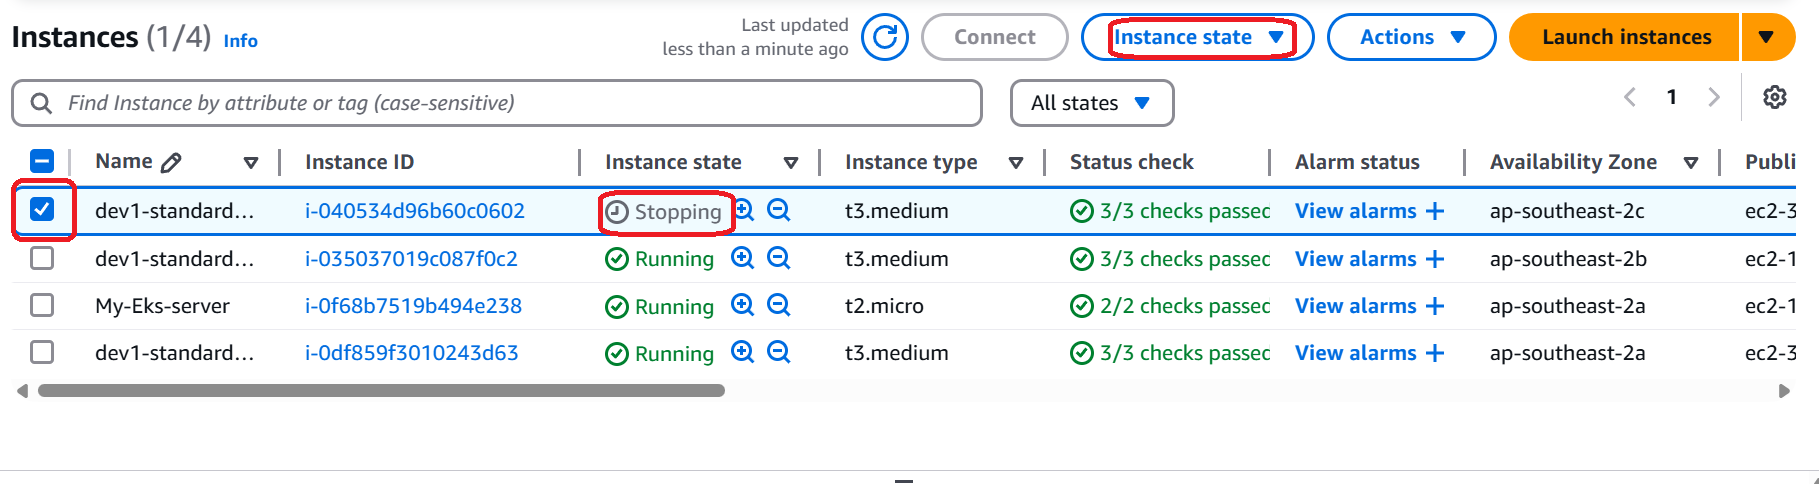
After a few minutes, we should see EKS launching new instances to keep our service running.
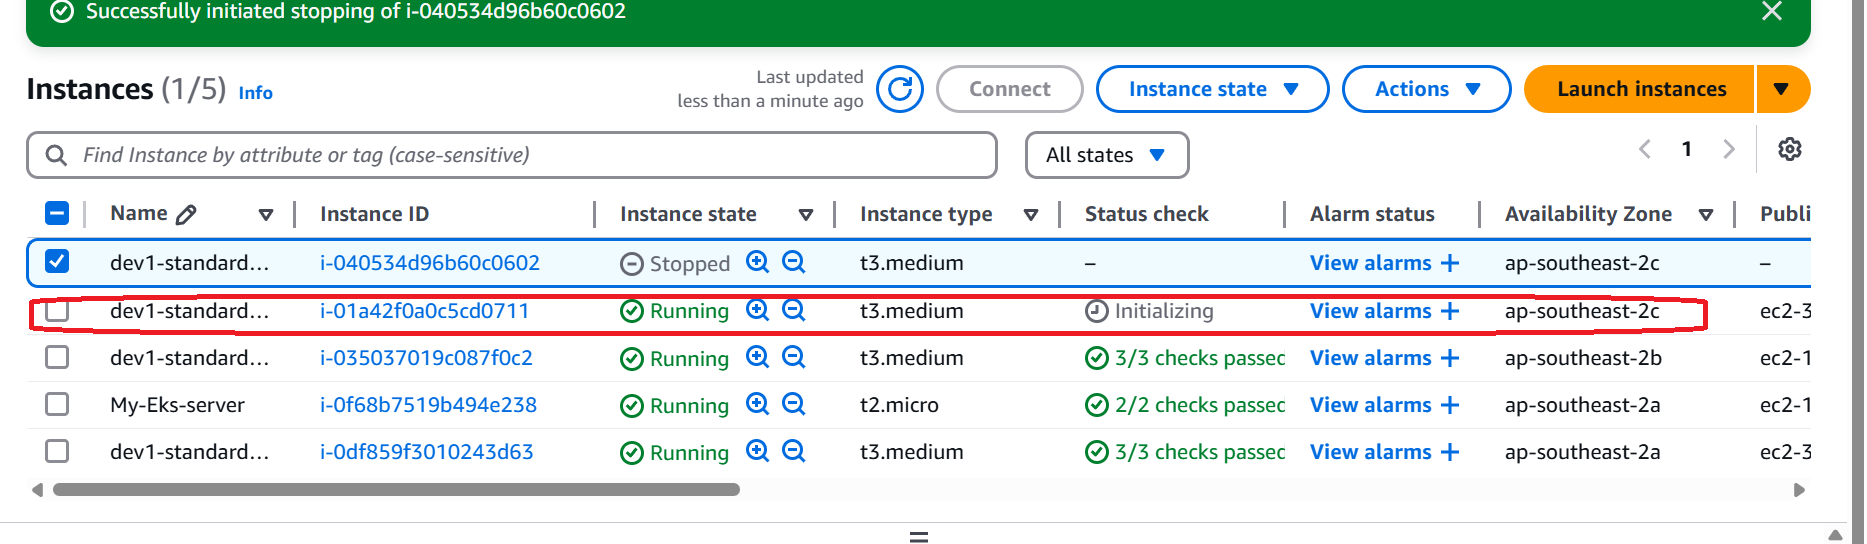
Now check the status of the node with this command:
kubectl get node
(ii) View the pods: kubectl get pod

(iii) Check the node again:
kubectl get node
(iv) Check the pod again:
kubectl get pod
(v) Check service status:
kubectl get service
(vi) Access the application again to using the load balancer to see the Nginx page in a new brower
curlae9fcdcf851844f6898bd651cfb088e5-662150467.ap-southeast-2.elb.amazonaws.com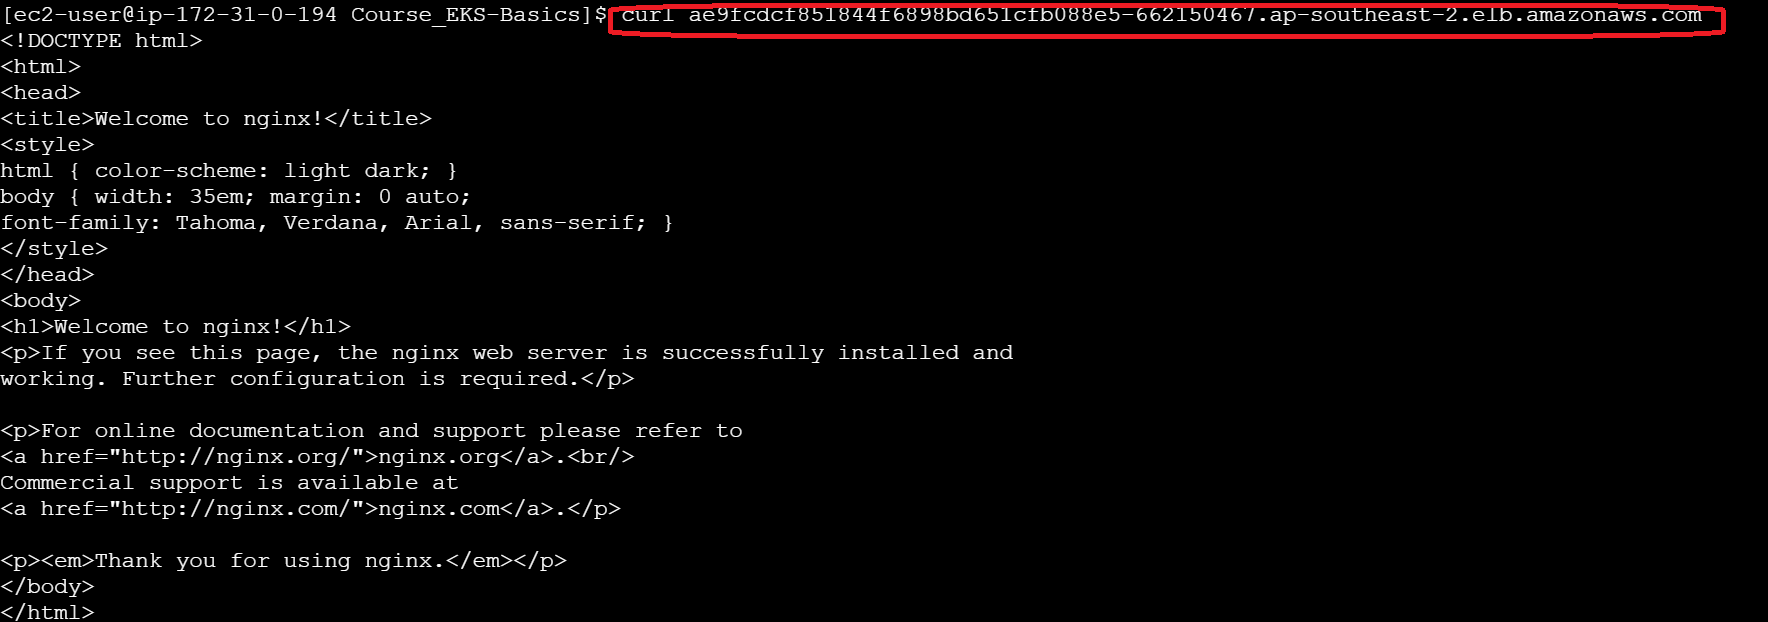
(vii) Navigate back to browser tab and paste the same IP to see again Nginx web page
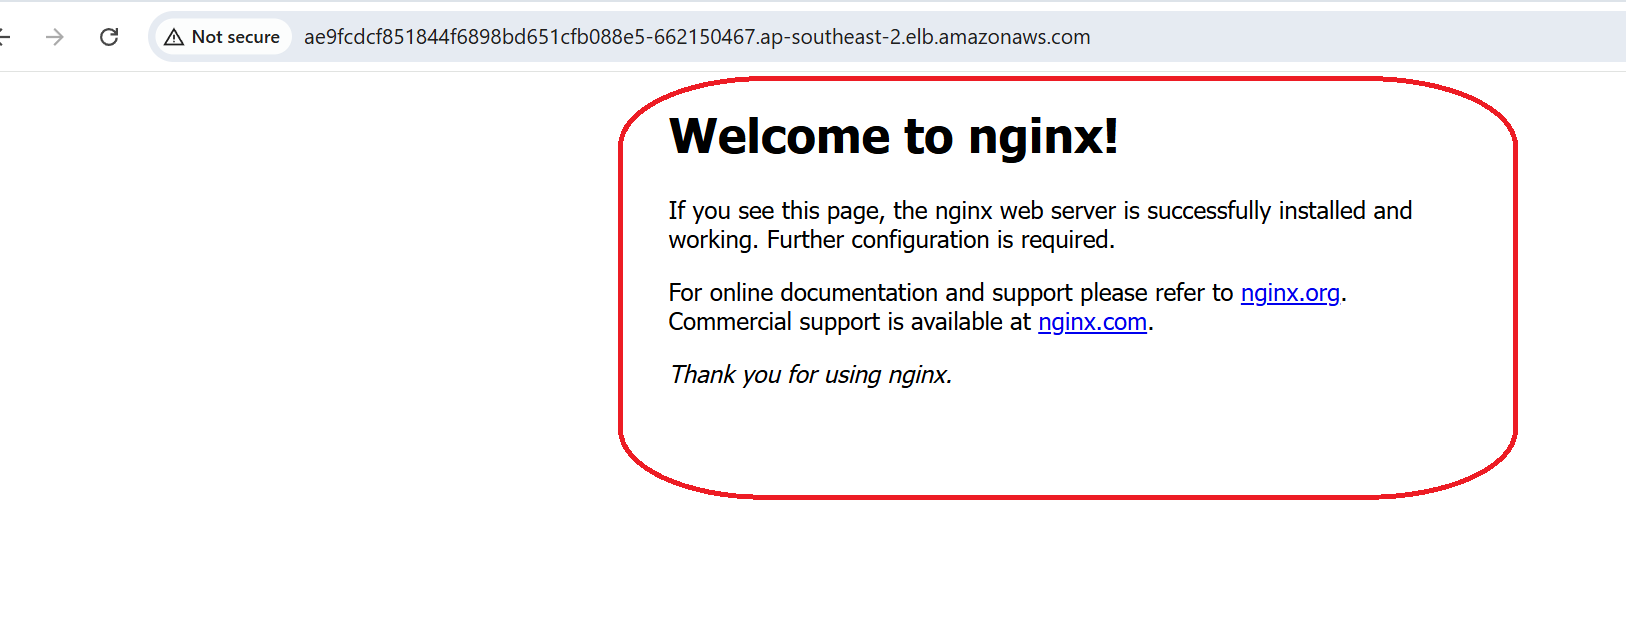
Finally we have come to the end of the today’s blog. Incase of any questions , please reach out.
Thanks
Emmanuel
*


